10 Simple Hair Styles for School That Take 5 Minutes or Less
Seven minutes before the bus and someone still needs their hair done. That’s the real timeline most mornings, not the relaxed version people imagine when they plan out a school routine the night before.
Most hair tutorials assume you have ten minutes, two kinds of product, and hands that aren’t also packing a lunch. That’s not how school mornings actually go. The hair has to happen fast, it has to survive recess and PE, and it has to look like someone tried, even if someone had ninety seconds.
This list is built around simple hair for school that takes 5 minutes or less, using what’s probably already in your bathroom drawer. No special tools, no fifteen step routines, nothing that needs a video paused three times to follow.
Some of these work on fresh washed hair. A few are actually better on day two or three hair, when there’s more grip to work with. Pick the ones that fit your kid’s hair type and your actual morning, then keep scrolling for the ones that will save you the most time this week.
1. The Low Pony That Hides Second Day Roots
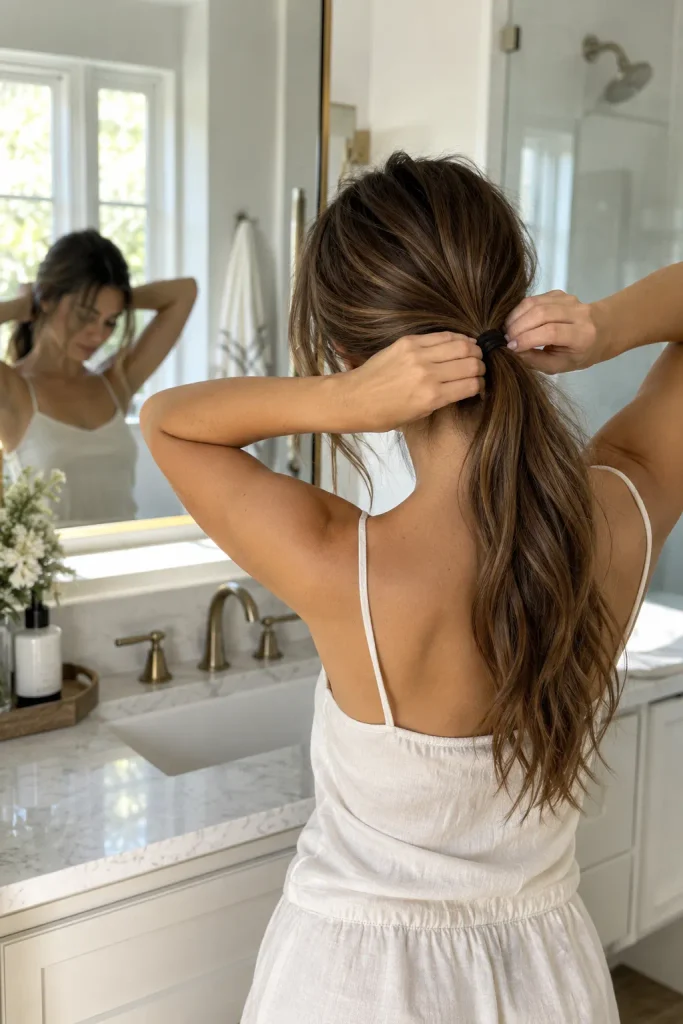
Second day roots along the part line are the first thing people notice, and the low pony covers that better than almost anything else.
Here’s the move:
- Smooth the top section back with a bit of water or dry shampoo on your fingers
- Gather hair low at the nape, below the ears
- Wrap once with a hair tie, then tug a few strands loose at the crown so it doesn’t look pulled too tight
The low placement hides oil and flattens frizz without needing a brush through the whole head. Works best on second or third day hair when it has grip to hold the wrap in place.
2. The Two Minute Braid Wrap for Front Pieces
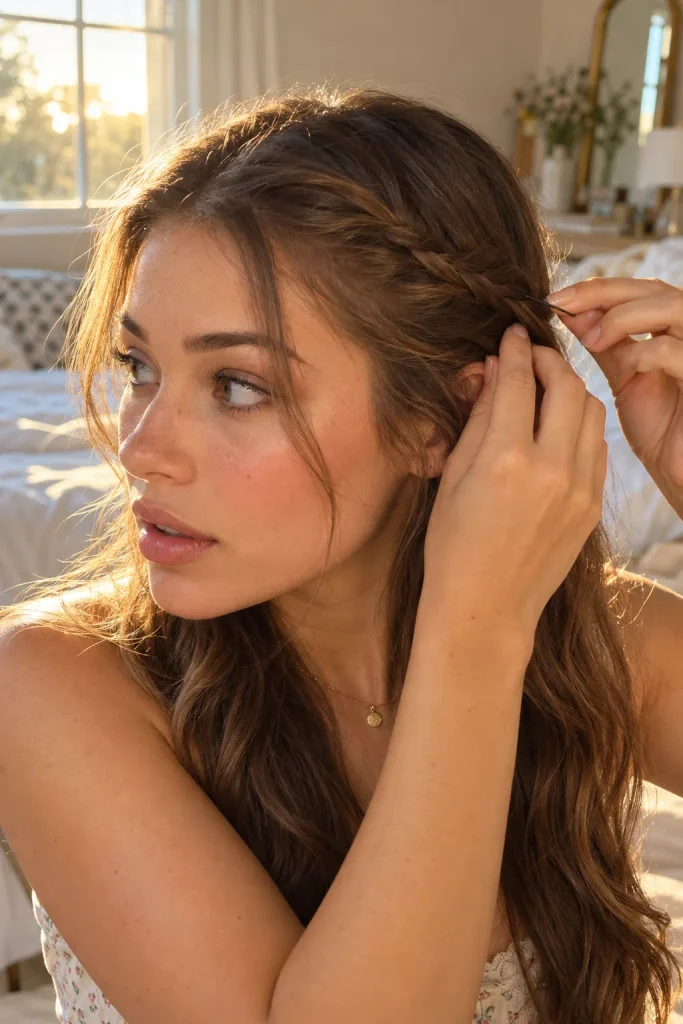
Most people reach for a full braid when hair is falling in a kid’s face, and that takes way more time than it needs to.
Just grab the two front pieces, cross them loosely under the chin area near the hairline, and pin behind one ear with a single bobby pin. That’s it. No elastic needed if the pin holds.
This works even on hair that’s still a little damp from a rushed shower, since it’s only two small sections instead of the whole head.
💡 Quick Tip
If the bobby pin keeps slipping, flip it so the wavy side faces down before sliding it in. It grips the hair instead of sliding straight back out.
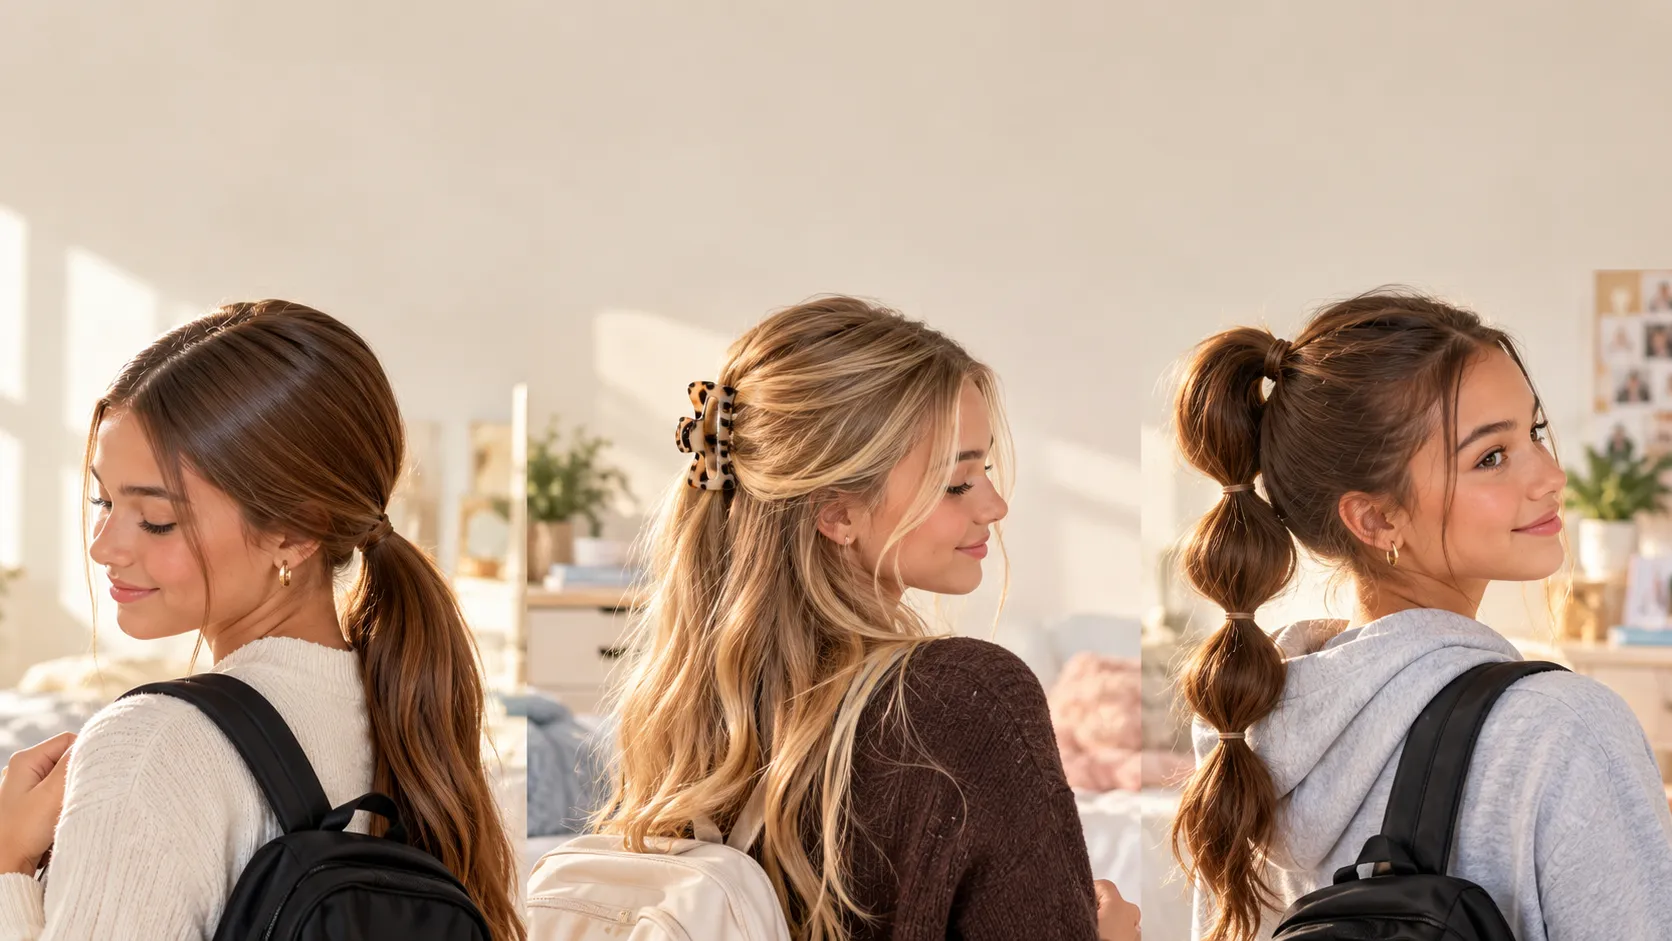
3. The Claw Clip Half Up That Needs Zero Brushing
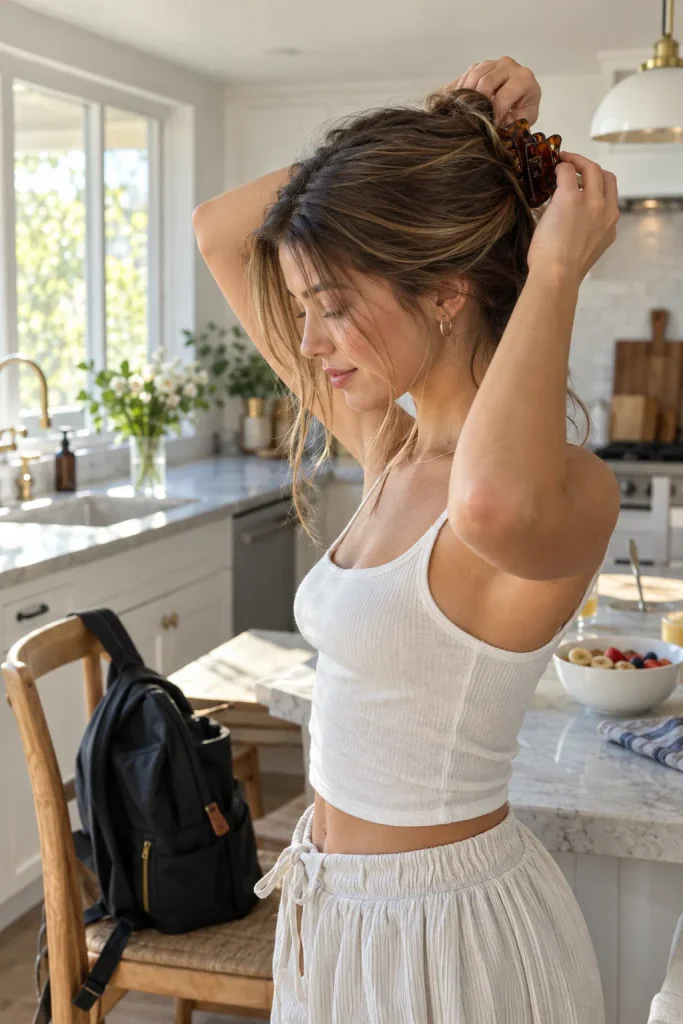
Claw clips get blamed for sliding out, but the real issue is almost always the angle, not the clip itself.
Twist the top half up loosely, or just gather it without smoothing every piece flat, then clip at an angle pointing slightly forward instead of straight up. The angle is what keeps it anchored through the day.
Skip brushing out every small knot before clipping. The clip covers the crown anyway, so that step just eats time you don’t have.
Clip at a slight forward angle, not straight up.
Leave a little natural texture in before clipping.
Brushing out every small knot first.
Clipping straight up at the very top.
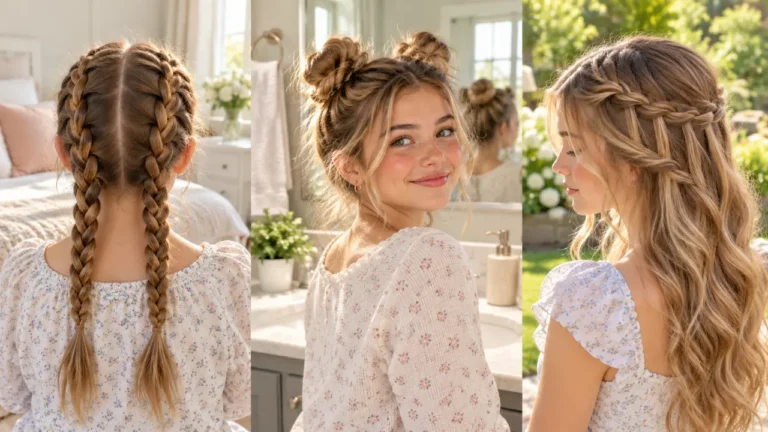
4. The Space Buns Trick for Mornings You Overslept
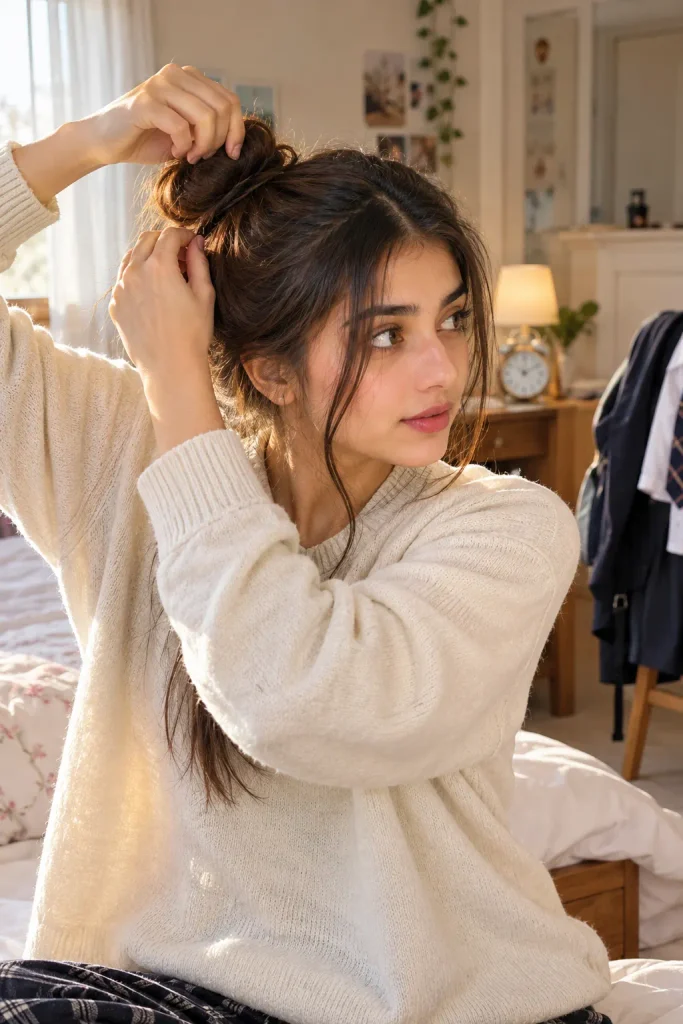
The alarm didn’t go off and now there’s four minutes before you need to be in the car. Space buns are the fastest save because they don’t need to be even.
- Part down the middle using your fingers, not a comb
- Twist each side into a small knot and wrap with a tie
- Tuck any loose flyaways under the tie instead of smoothing them down
One bun higher than the other still reads as done on purpose once it’s finished.
Part down the middle using your fingers instead of a comb.
Twist each side into a small knot and wrap with a tie.
Tuck any loose flyaways under the tie instead of smoothing them down.
5. The Slick Back Bun With Just Water and a Comb
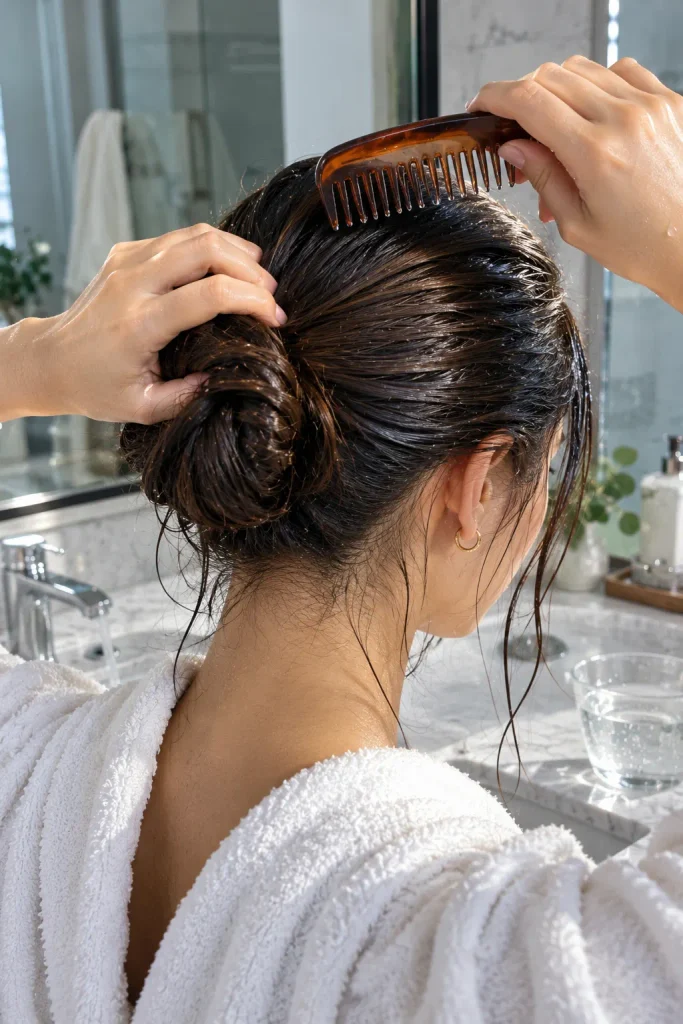
One rule makes this style hold all day: wet the comb, not the hair. Dipping the comb in water before each pass keeps hair smooth without soaking the whole head.
Comb straight back from the hairline, gather at the crown or lower depending on the day, and twist into a small bun. Secure with two bobby pins crossed in an X instead of parallel, since the X grip holds twice as long through PE and recess. No touch up needed, even by last period.
6. The Side Braid That Actually Works on Unwashed Hair
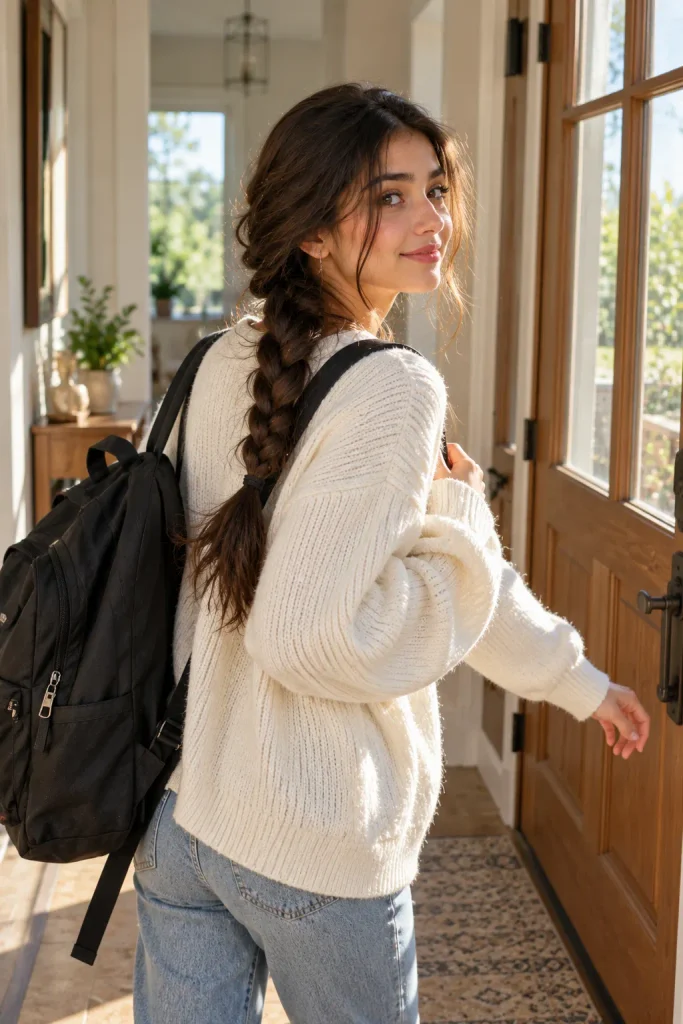
Unwashed hair actually grips a braid better than fresh washed hair does, since there’s nothing slick for the strands to slide against. Pull everything to one side at the nape, braid loose instead of tight, and let a few pieces fall out around the face.
The looser the braid, the less it looks like you were fighting with it. Tight braids on day two or three hair tend to pull and look stiff by lunch, while a loose one just relaxes into something that reads effortless.
What to grab first
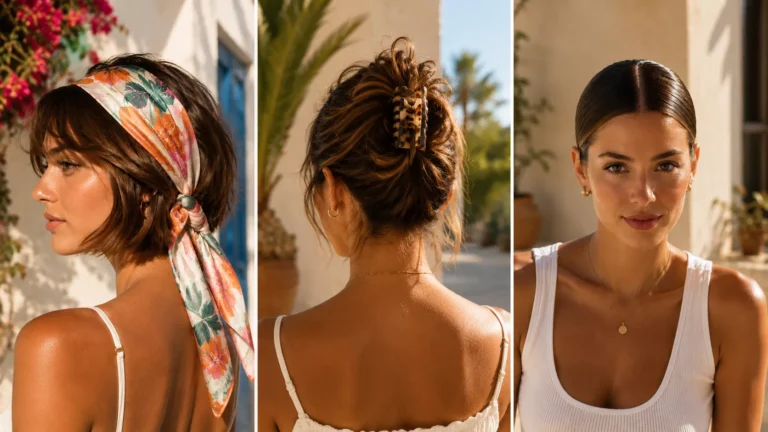
7. The Headband Push Back for Rushed Mornings
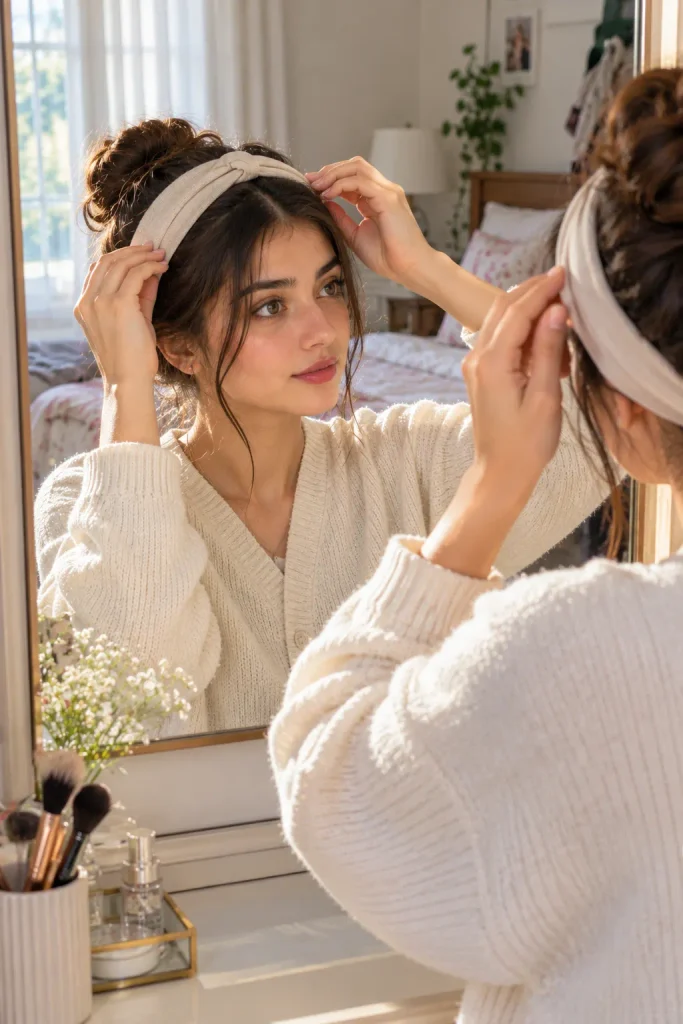
Flat against the forehead by second period is what usually happens when a headband goes in dry with nothing holding the front pieces down. A little gel or even a dab of hand lotion rubbed along the hairline before placing the headband fixes that fast.
Push the headband back about an inch further than feels natural. It settles forward on its own within the hour, so starting further back buys extra time before it needs adjusting again.
Headband placed dry and straight back, sliding forward and flattening front pieces by mid morning.
Hairline lightly smoothed first, headband started an inch further back, still in place at pickup.
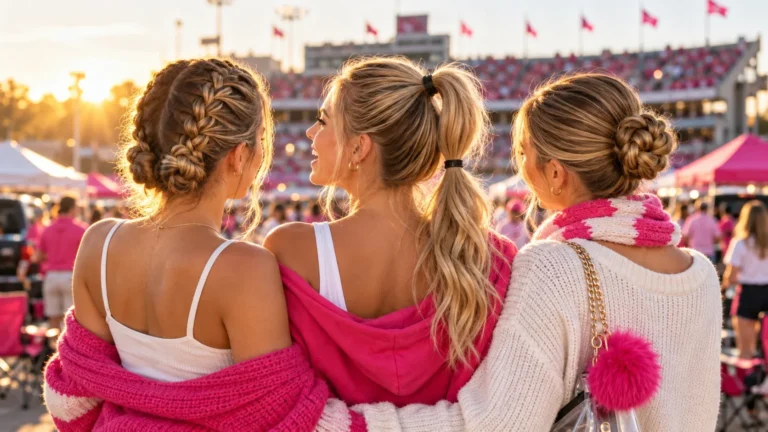
8. The Starter Dutch Braid for Kids Who Can’t Braid Yet
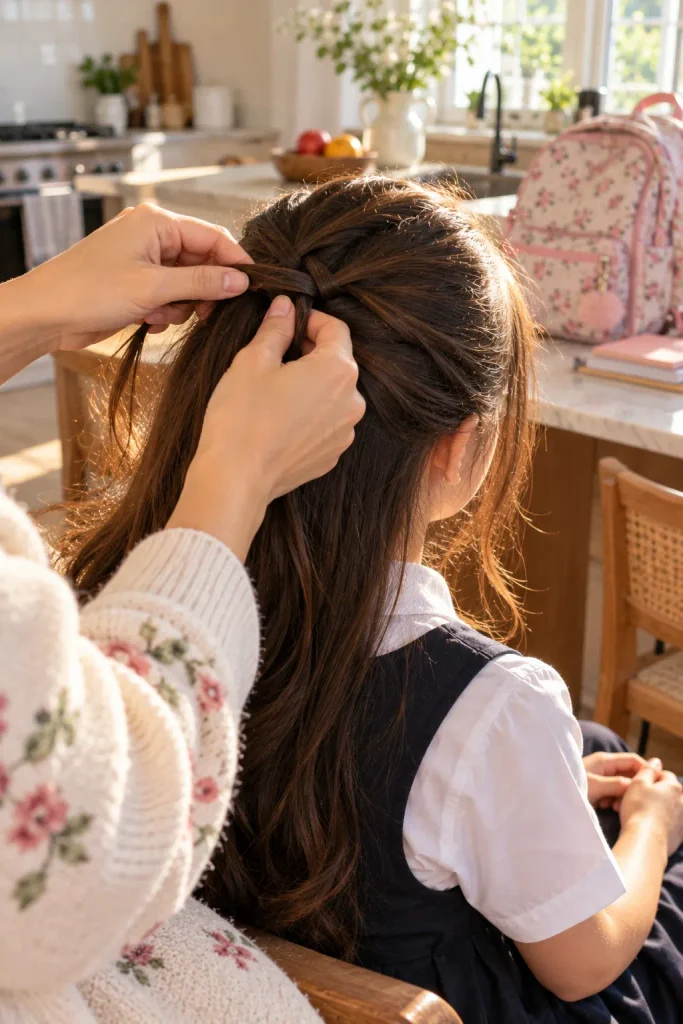
A full Dutch braid takes practice most mornings don’t allow for. The starter version skips that pressure. Just cross three sections under instead of over, only at the crown, then twist the rest into a low pony once the first few crosses are done.
It looks like a real braid from the front without needing to braid all the way to the ends, which is the part that usually falls apart on hands still learning.
| Starter Version | Full Dutch Braid |
|---|---|
| Crosses only at the crown, then into a pony. | Crosses all the way down to the ends. |
| Takes about a minute, beginner friendly. | Takes practice and more time to get even. |
9. The Top Knot Built to Survive PE Class
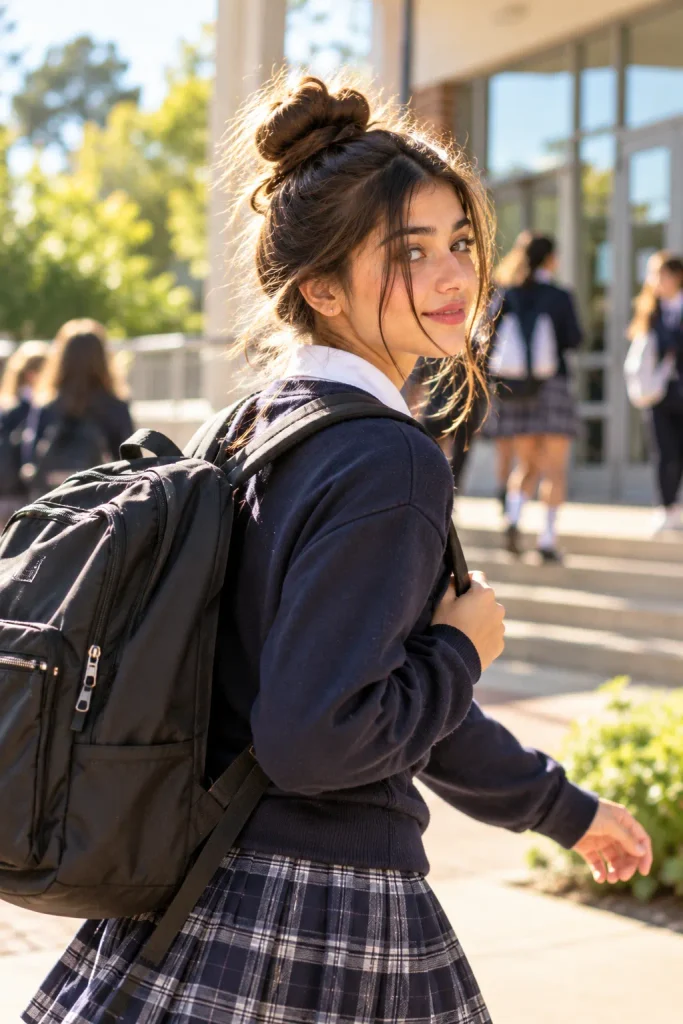
Most top knots fail at recess because the hair is twisted once and left loose on top, with nothing anchoring it from underneath.
Before twisting the bun, loop the pony through the hair tie twice instead of once, pulling the second loop only halfway through so it leaves a small bump. Twist that bump around the base and pin it down with one pin facing the opposite direction of the twist. That reverse angle is what keeps it locked through running, tumbling, and changing for gym.
Pin the twist facing the opposite direction it was twisted. That’s what keeps a top knot in place through PE, not more hairspray.
10. The Bubble Ponytail Using Only Hair Ties
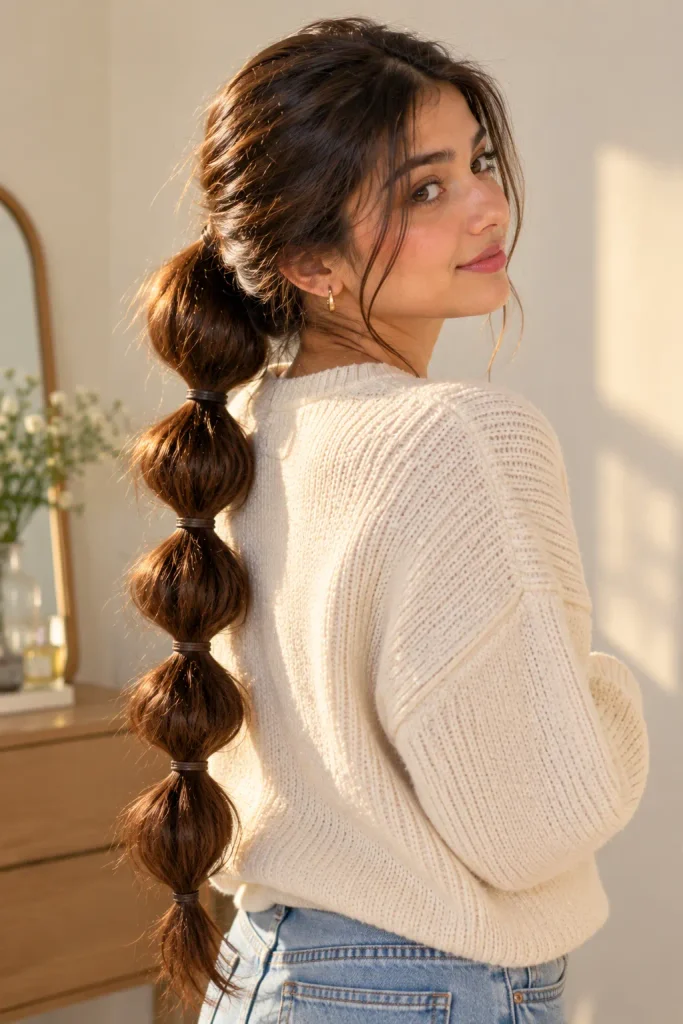
No braiding skill needed here at all, just a pony and a handful of ties. Put the hair up in a regular ponytail, then add a second tie a few inches down, and keep going every couple inches to the ends.
Pull gently at the sides of each section between ties to puff it out into a bubble shape. It looks far more done than it actually is.
- Use at least four ties for a pony past shoulder length
- Smaller gaps between ties make tighter, neater bubbles
- Skip gel entirely, this style works better with some natural texture left in
- ▸Space ties evenly for the cleanest bubble shape.
- ▸Pull sides outward gently, don’t yank or it loses shape.
- ▸Finish with the lowest bubble slightly looser than the rest.
Conclusion
None of these styles need a tutorial pulled up mid braid or a drawer full of products. Simple hair for school that takes 5 minutes or less usually comes down to a couple of small habits, like wetting the comb instead of the hair, or starting a headband further back than feels natural. Once those tricks click, mornings stop feeling like a scramble.
Try a few this week and see which ones actually fit your kid’s hair type and your real schedule, not just the one that looks nicest in a photo. The ones that hold up through recess and PE are the ones worth keeping in the regular rotation.
Save this list for the mornings you’re running short on time.