15 Tips for How to Pick a Hair Color for Your Wedding Day
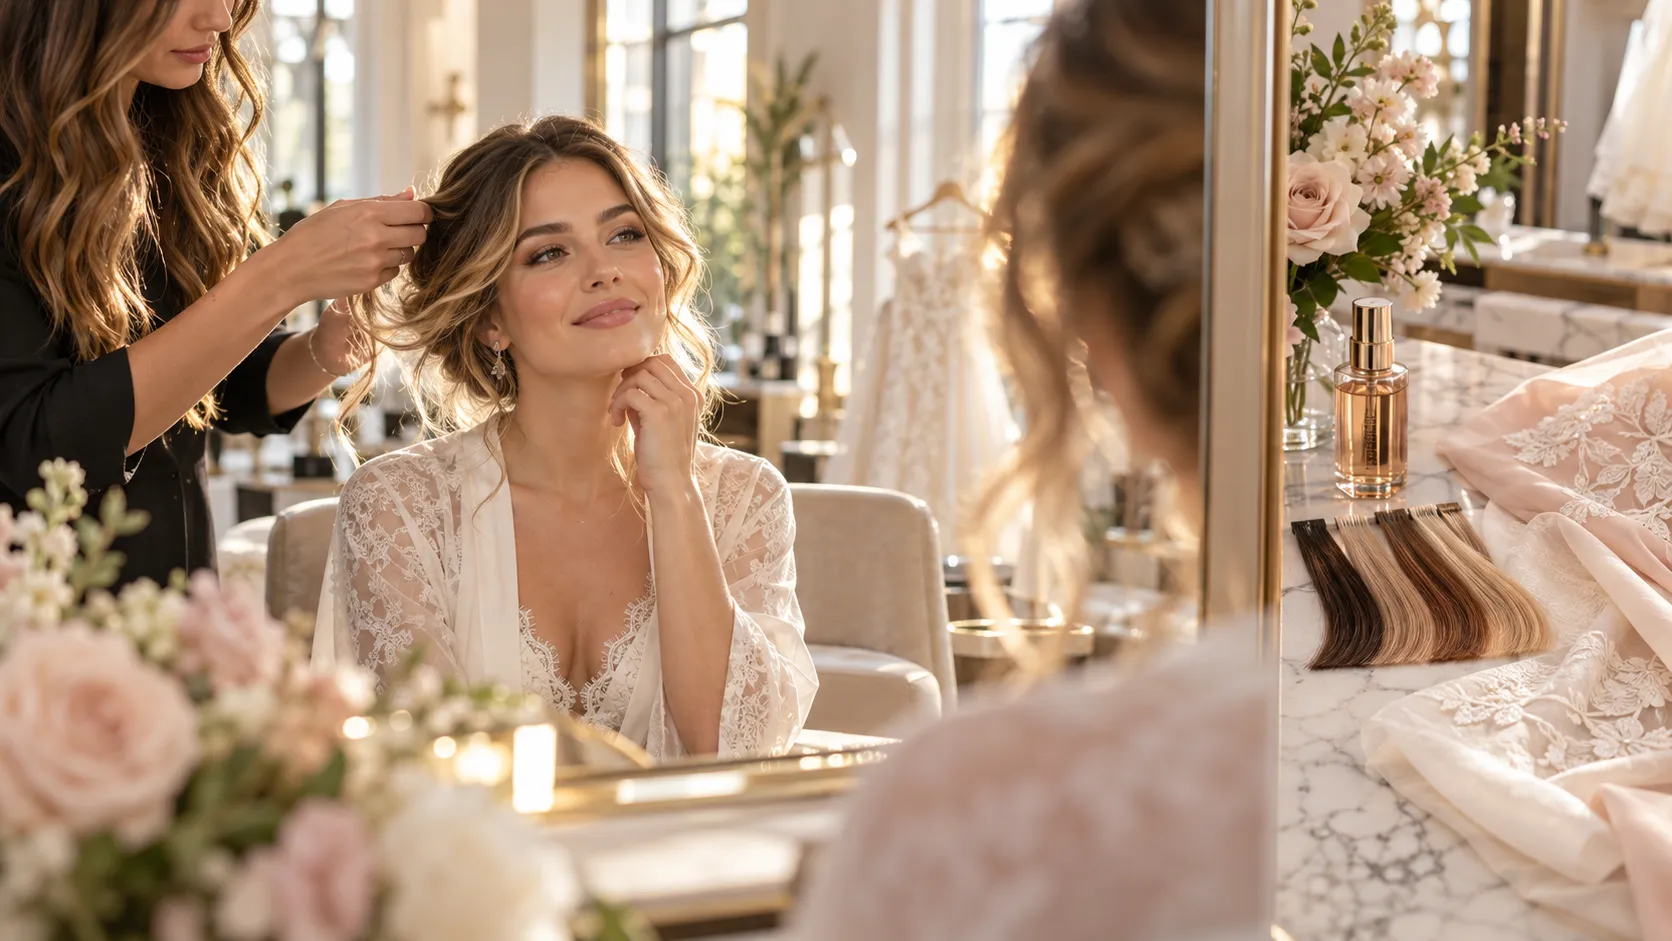
Your hair appointment is booked, the swatches are picked, and you still don’t know if you should go lighter, warmer, or leave your color alone until after the wedding. That hesitation is normal. Most of what you read online about choosing a wedding hair color was written for an average salon visit, not for a single day that has to hold up under flash photography, humidity, and twelve hours on your feet.
Figuring out how to pick a hair color for your wedding day is less about trends and more about timing, undertones, and how light behaves in your venue. A shade that looks stunning under salon lighting can read flat or orange under tent string lights, and a dramatic change two weeks out can leave your color uneven right when you need it steady.
These fifteen ideas cover the real decisions that matter: when to test your color, what to bring to your colorist, how to protect it through the ceremony, and how to keep it looking fresh in every photo. None of it requires guesswork. Start wherever your timeline puts you.
1. Match Your Hair Color to Your Skin’s Undertone Before You Pick a Shade
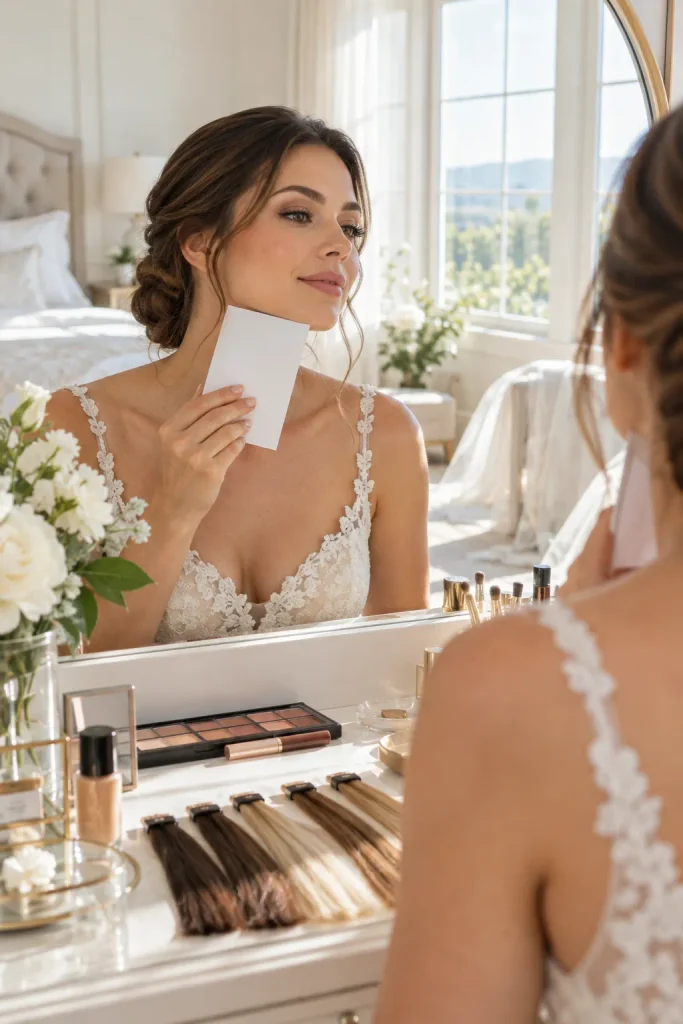
Warm or cool, your undertone decides more than your colorist’s opinion does.
Hold a piece of white paper under your jaw in daylight. If your skin looks golden or peachy next to it, you lean warm. If it looks pink or blue, you lean cool. Neutral undertones can wear either direction, which gives you more room to play.
Once you know your undertone, matching gets easier, and skipping this step is how a beautifully done color ends up clashing with your skin in every photo.
2. Get a Color Trial at Least Six Weeks Before the Wedding
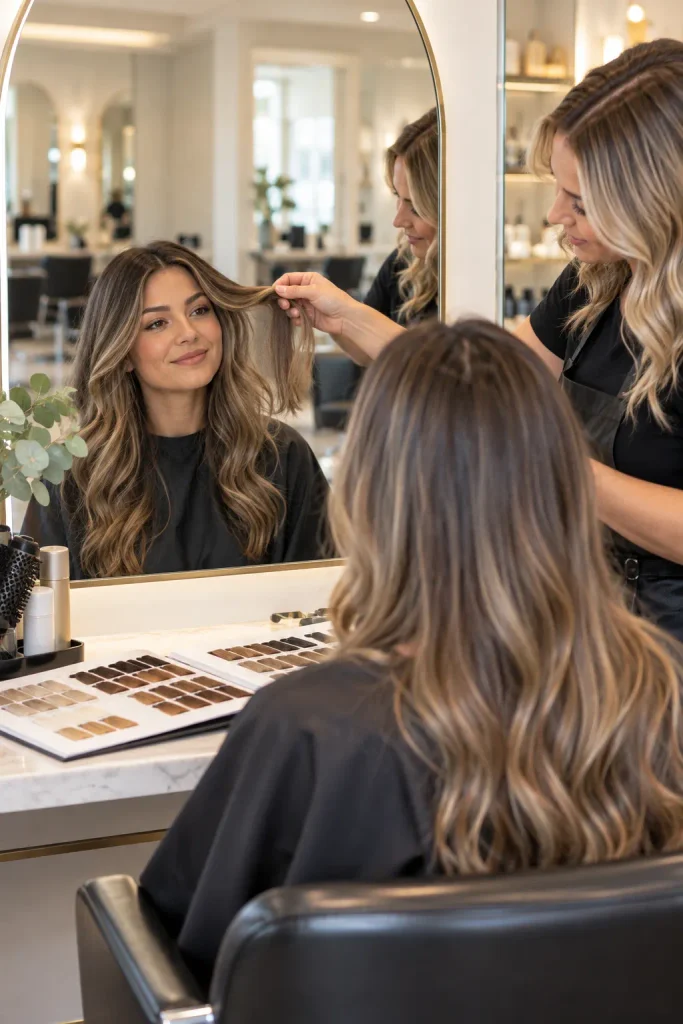
The biggest color mistake brides make isn’t the shade, it’s the timing. Booking a trial the week of the wedding leaves no room to fix anything if the color turns out uneven or too intense under indoor light.
Six weeks gives your colorist room to adjust and gives your hair time to settle so it looks consistent instead of freshly done. Ask to see your trial color in daylight and under indoor lighting before you commit, since salon lighting almost always flatters more than a reception hall will.
💡 Quick Tip
Bring a photo of your dress neckline and a quick video of your venue lighting to your trial, so your colorist can judge the shade in context instead of just under salon lights.
3. Give Yourself a Four Month Runway for Any Big Color Change

A gradual change holds up better than a rushed one, and it costs less stress along the way.
A dramatic shift, like going from dark brown to blonde, needs room to breathe. Four months lets you do it in stages instead of one damaging session, which keeps your hair’s texture intact for updos and curls later.
Here’s roughly how that timeline breaks down:
Month four: first lightening session
Month three: toning and condition check
Month two: color trial and style test
Month one: final touch up and gloss
4. Bring These Four Things to Your Colorist Consultation
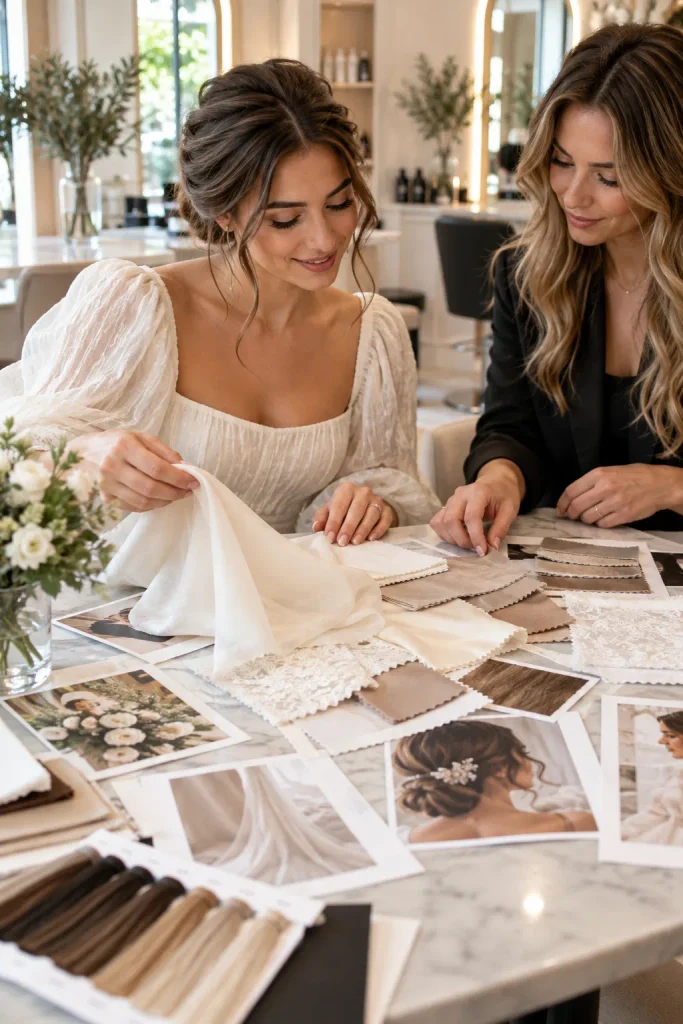
Walk into your consultation prepared and you’ll save yourself a second appointment and a lot of back and forth. Your colorist can only work with what you show them, so bring more than just a single inspiration photo.
A few close up shots of your actual hair in natural light help too, since phone photos taken indoors tend to shift the color warmer or cooler than it really is. Bring more than you think you need.
What to bring with you
5. Decide if Your Hair Should Match or Contrast Your Dress Undertone
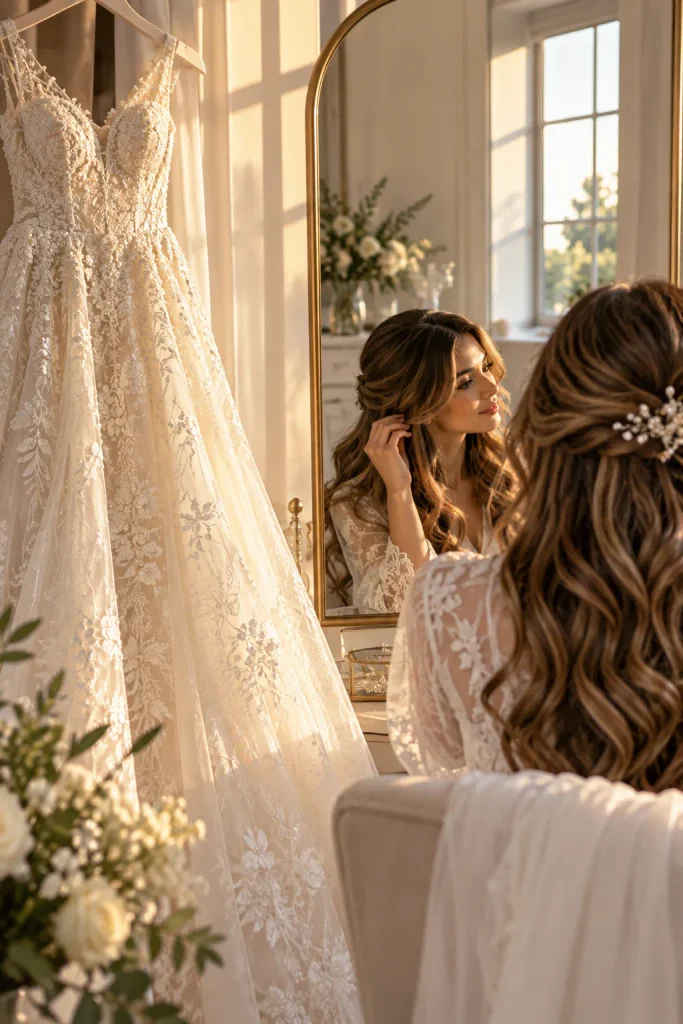
There are two honest approaches here, and both can look beautiful. Matching your hair’s warmth to your dress undertone creates a soft, blended look in photos. Contrasting them, like cool ash hair against a warm ivory dress, makes each element stand out a little more on its own.
Neither choice is wrong. It depends on whether you want your whole look to blend together or whether you want your hair to read as its own distinct detail next to the dress.
Warm hair tones with a warm ivory dress.
Creates a soft, blended look in photos.
Cool ash hair against a warm ivory dress.
Makes your hair read as its own detail.
6. Check How Your Venue’s Lighting Will Change Your Color
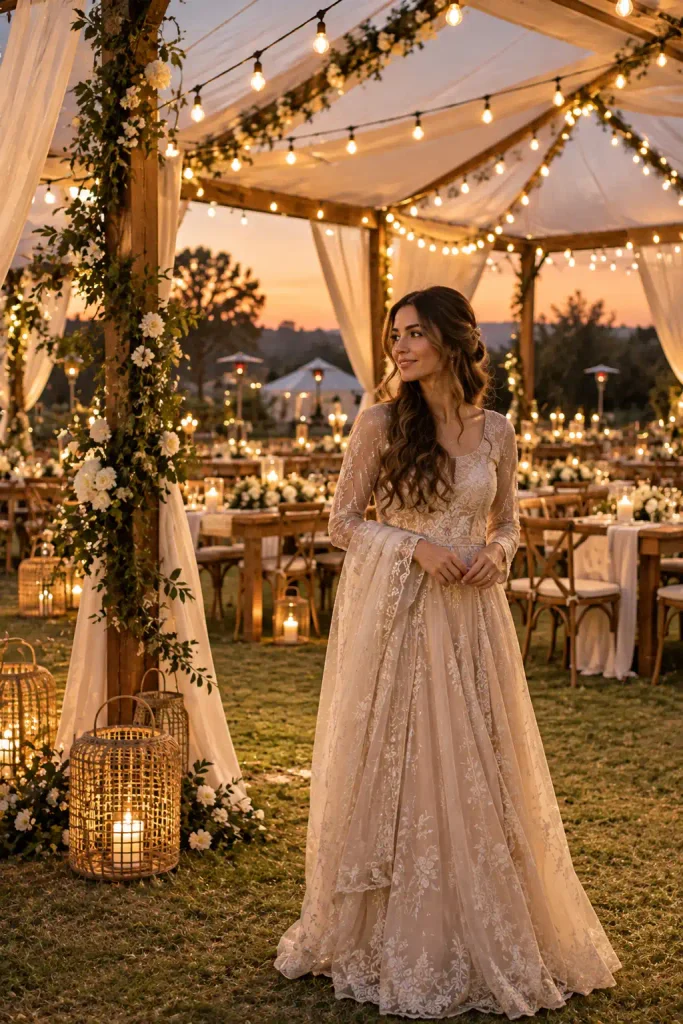
Fluorescent bulbs, string lights, and afternoon sun each pull color in a different direction. A shade that looks rich and warm under salon lighting can turn brassy under a tent, or go flat and gray under fluorescent reception lighting.
Ask your venue coordinator what kind of lighting the ceremony and reception spaces use, then mention it at your color trial.
| Lighting Type | What It Does to Color |
|---|---|
| Warm indoor, candlelight | Deepens warm tones, mutes ash shades |
| Fluorescent | Flattens color, dulls warm tones |
| Outdoor daylight | Shows your truest color |
| String or tent lighting | Softens color, adds a golden cast |
7. Why Subtle Dimension Often Photographs Better Than a Dramatic Change
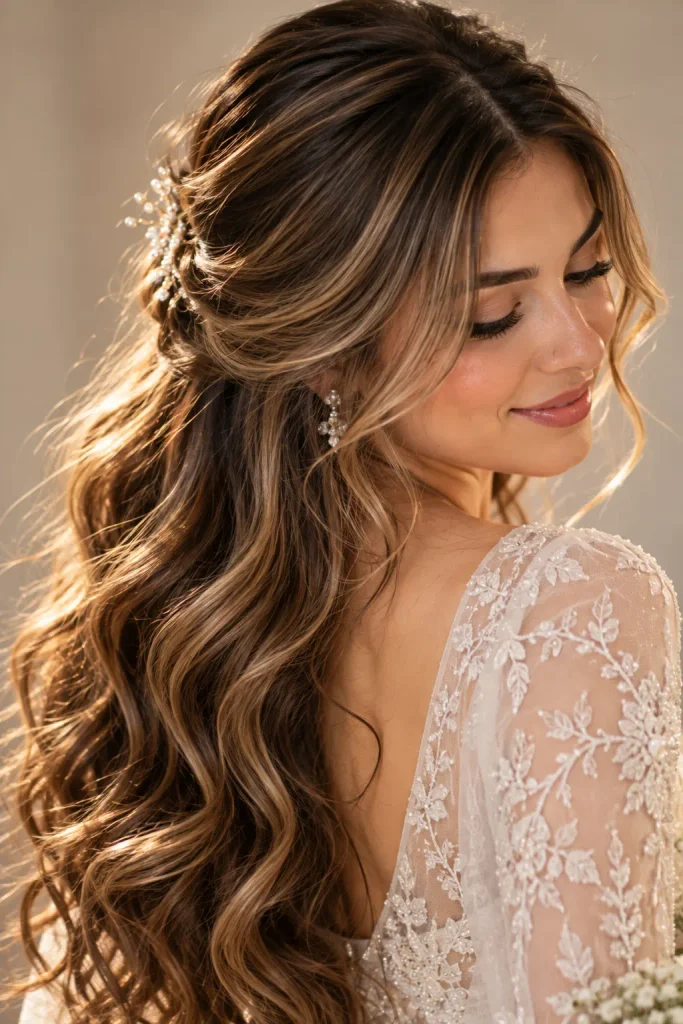
A common belief is that bigger is better when it comes to wedding hair color, but dimension, not drama, is usually what reads best on camera. Flat, single process color can look two dimensional in photos, while soft highlights or a subtle root melt catch light in a way that makes your hair look fuller and more natural.
This matters most for anyone wearing an updo, since dimension keeps a pulled back style from looking flat under flash photography.
One process shade, no highlights, can look two dimensional under flash.
Soft highlights or a root melt catch light and photograph fuller.
8. Always Patch Test New Color at Least 48 Hours Ahead
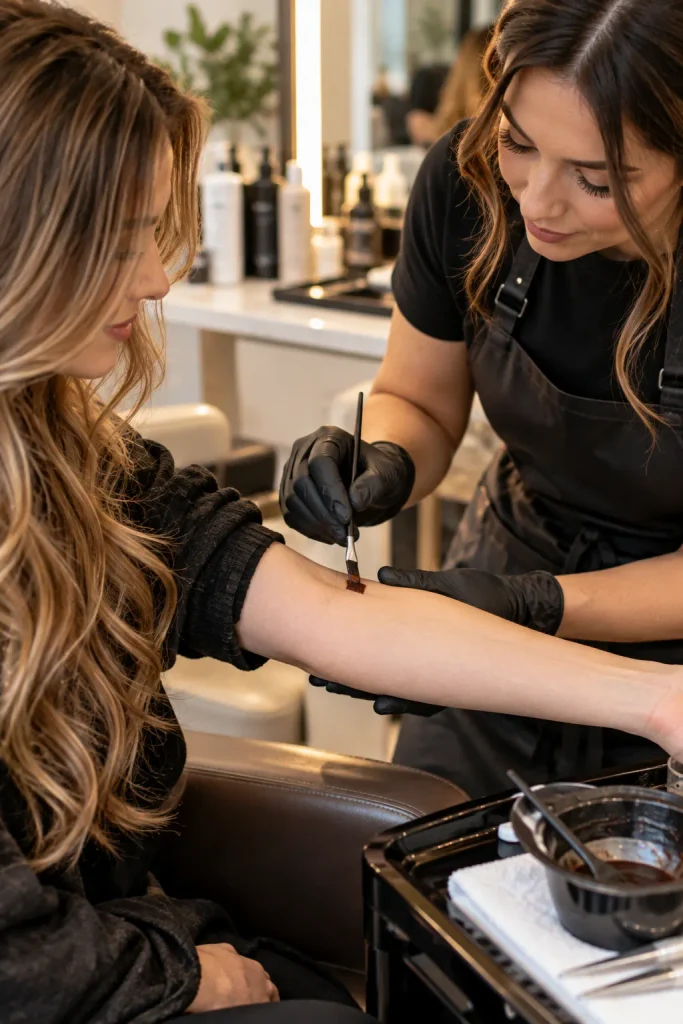
Skipping a patch test is the mistake that causes the most last minute panic. Even a shade you’ve worn before can trigger a reaction if the formula has changed, and the days before your wedding are the worst time to find out.
A patch test takes a few minutes and tells you everything you need to know before committing your whole head to a new color.
⚠️ Watch Out
Never skip the patch test for a dye you’ve never used before, even if you’ve colored your hair for years without issue. Reactions can happen at any time.
9. The One Rule That Keeps Wedding Hair Color Photo Ready
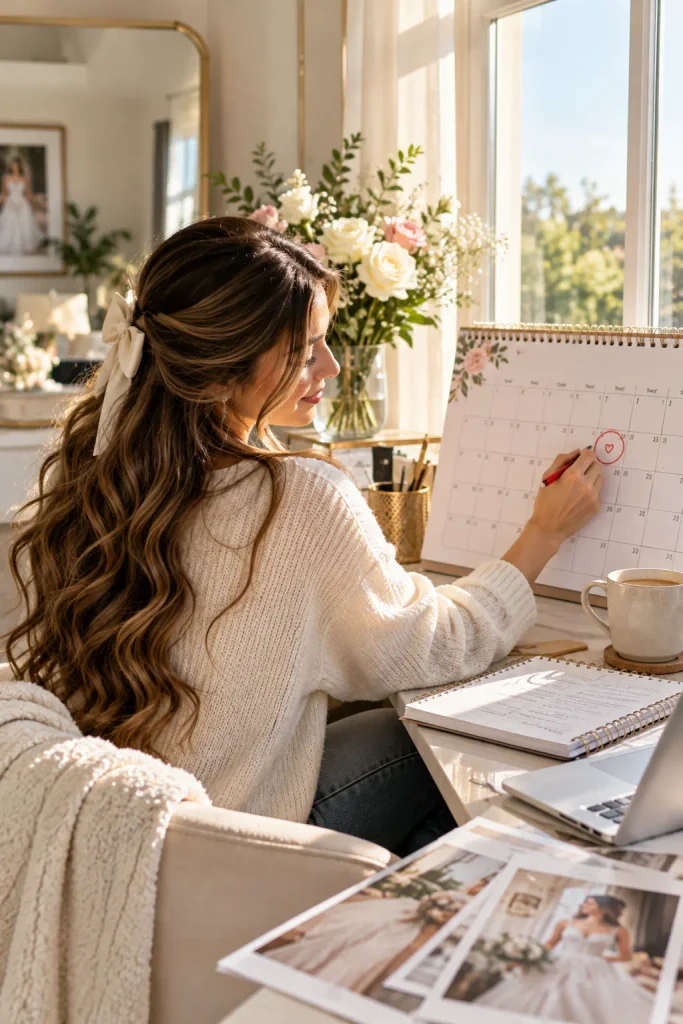
Here’s the rule that matters more than any shade choice: finish your final color appointment no closer than one week before the wedding.
That window gives your color time to settle into its true tone and gives your stylist a chance to fix anything that looks off before it’s too late to adjust. Rushing a last minute appointment is how color ends up looking patchy in close up photos.
Finish your final color at least one week before the wedding, never the day before.
10. Build a Day Of Touch Up Kit for Root Shine and Flyaways
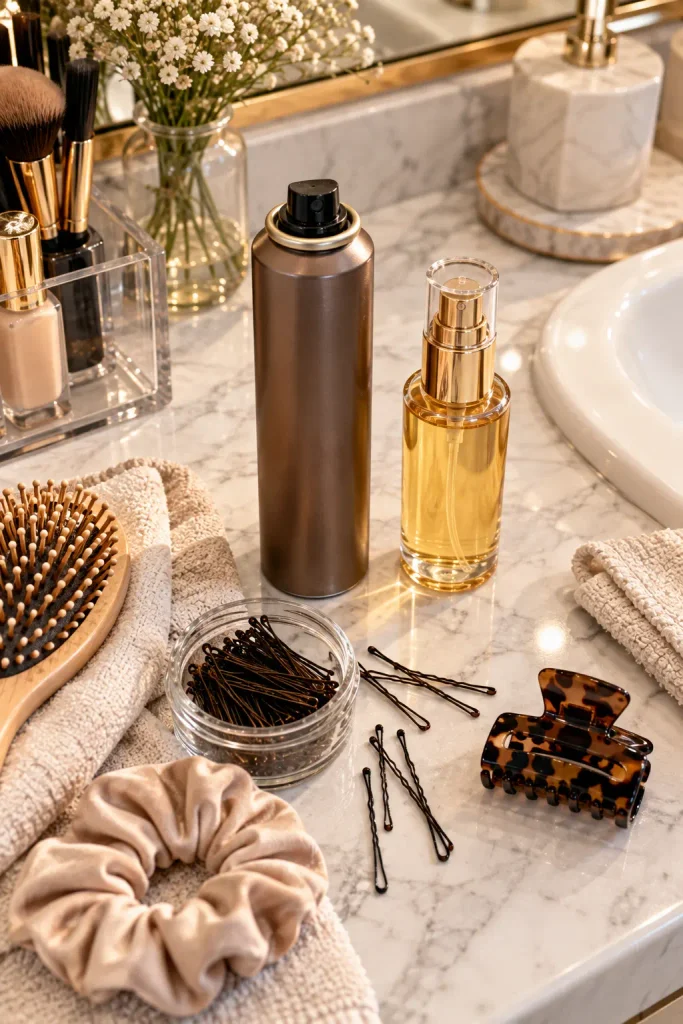
Twelve hours in heels and humidity will test even the best color job. A small touch up kit keeps your color and shine looking fresh from the ceremony through the last dance.
Here’s what to pack and when to use it:
Root touch up spray, for any regrowth that shows under veil photos.
A small shine serum, applied lightly before photos, not before the ceremony.
Bobby pins that match your color, for last minute flyaways near the hairline.
11. Pair Your Color Choice With Your Actual Hairstyle, Not Just the Trend
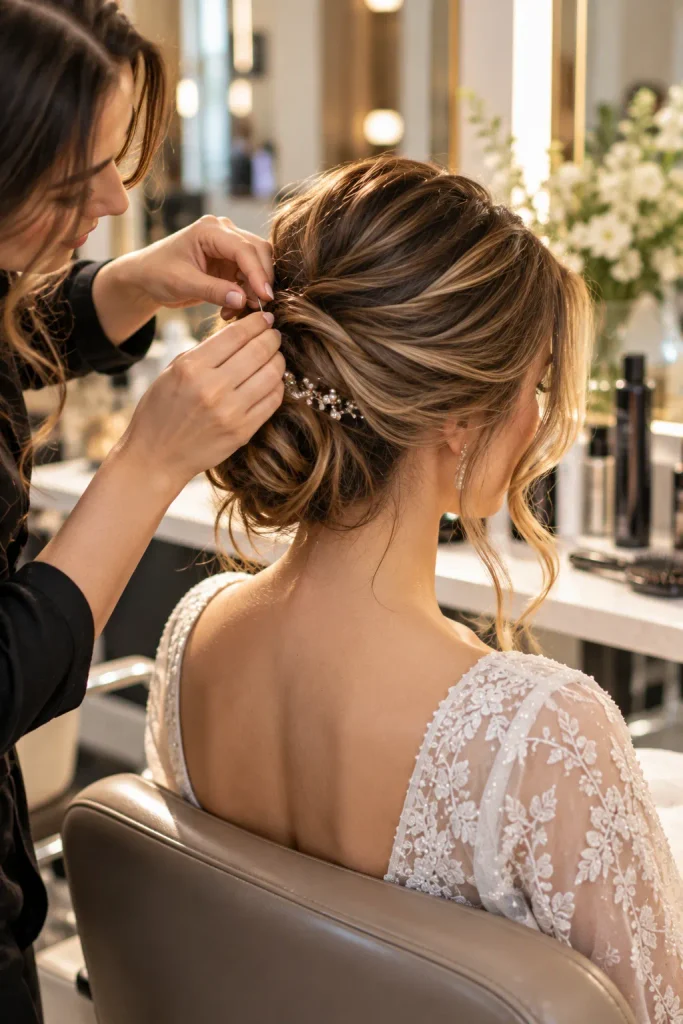
A gorgeous color can fall flat if it doesn’t suit how you’re actually wearing your hair. An updo shows off your roots and the back of your head in a way loose waves never will, so the two decisions need to work together, not separately.
Think about which parts of your color will actually be visible once your style is finished.
12. Weigh Your Gray Coverage Options Before the Big Day
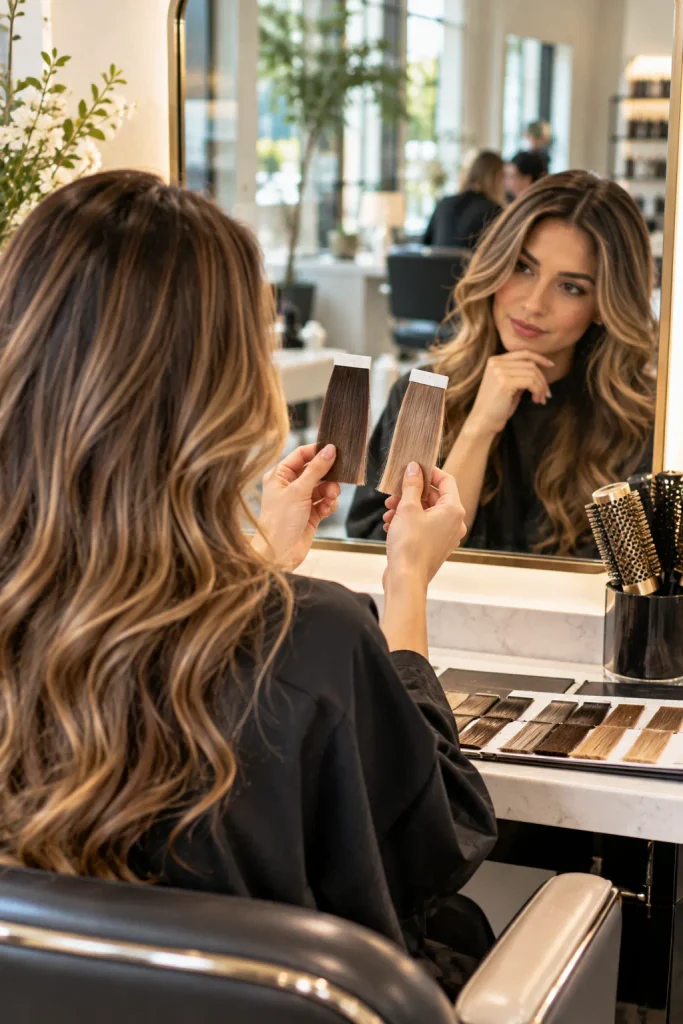
If you’re covering gray, the method you choose affects how much upkeep you’ll need in the weeks around the wedding. Full coverage gives the most uniform look but shows regrowth sooner. A gentler gloss or demi permanent blends gray without the sharp line of demarcation.
Talk through both with your colorist based on your gray percentage and your wedding date.
| Full Coverage | Gloss or Demi |
|---|---|
| Most uniform result | Softer, more natural blend |
| Regrowth shows sooner | Fades gradually, no hard line |
13. Skip the Trendy Colors That Won’t Age Well in Your Photos
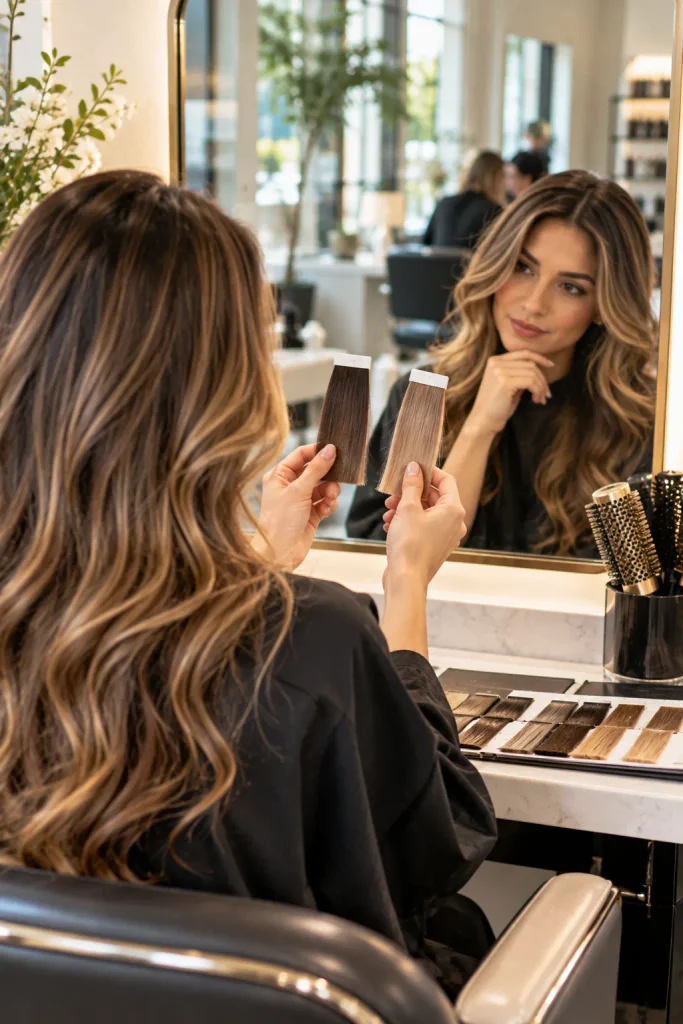
Trends move fast, but your wedding photos are permanent. A hair color that feels current today can look dated in five years, the same way certain cuts and colors from past decades now read as clearly of their time.
Classic, flattering tones tend to hold up better in photos you’ll look back on for decades.
Choose tones close to your natural range.
Ask your colorist what tends to hold up over time.
Chasing a color trend you saw last week.
Picking a shade with no connection to your natural tone.
14. Lock In Your Final Week Color Checklist
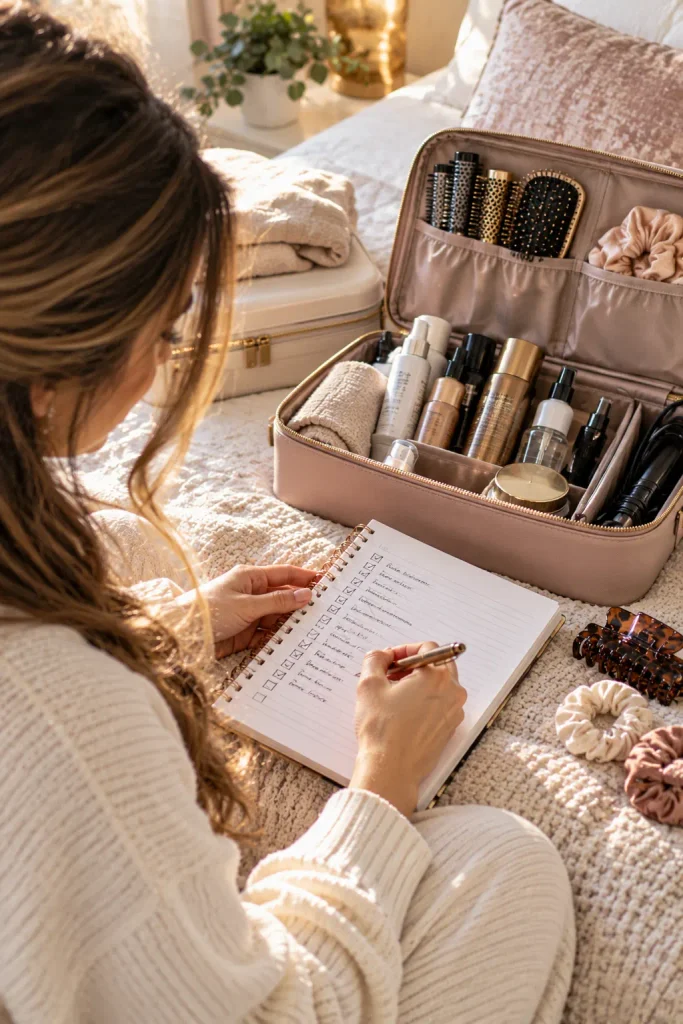
The final week should be about maintenance, not decisions. Any new color choices need to be settled by now so your hair has time to calm down before the ceremony.
Here’s what to confirm before the week gets busy:
Final week checklist
15. Plan Your Post Wedding Color Maintenance Before the Honeymoon
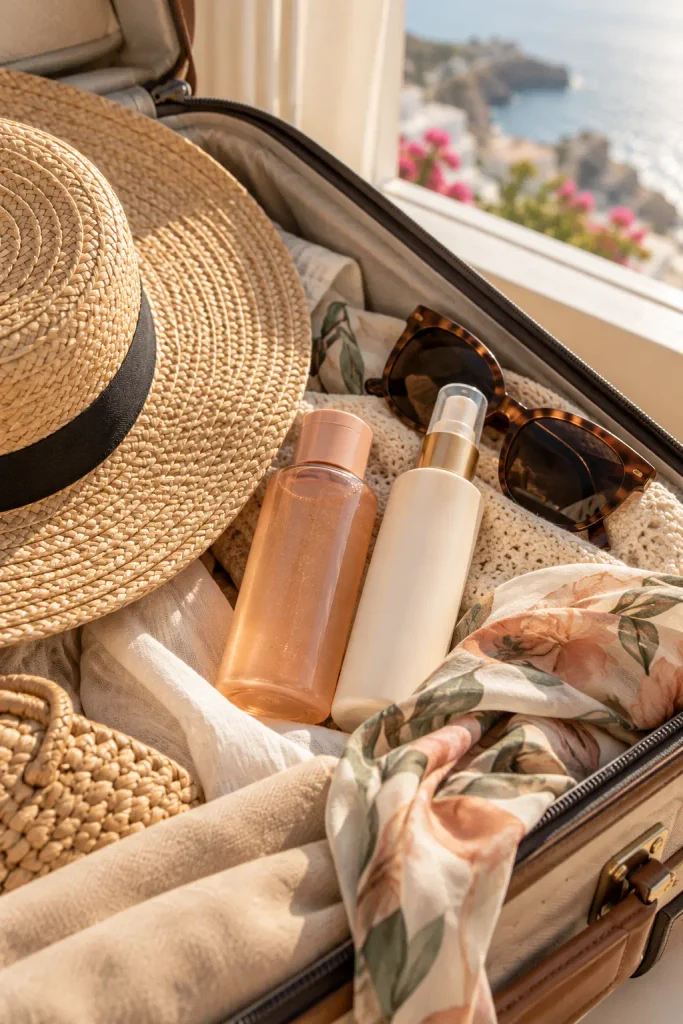
Your color still needs care after the wedding, especially if your honeymoon involves sun, chlorine, or salt water. Planning ahead means you won’t be scrambling for color safe products in an unfamiliar pharmacy.
Pack a travel size color safe shampoo and a UV protecting spray if you’re headed somewhere sunny.
Conclusion
Figuring out how to pick a hair color for your wedding day really comes down to timing and testing, not luck. Start early enough to fix mistakes, bring the right references to your consultation, and think about how your venue’s lighting and your hairstyle will actually show off the color you choose.
None of this has to be complicated. A good colorist, a realistic timeline, and a little attention to the small details, like your touch up kit and your final week checklist, will carry you through the day looking like yourself, just a little more polished.
Save this list for the next time you’re mapping out your wedding beauty timeline, so you can come back to it when your trial appointment rolls around.